I think by now it's no secret that I prefer to show my love through the bake. I love making pretty, delicious treats that make people happy. This is even more true during the Christmas season. Since Christmas is winding to an end, I decided to combine my holiday baking efforts into two magical, Christmas-in-Review posts before officially ushering in the new year and commemorating my blog's 1 year anniversary [can you believe it's already been a year!?]
And so, without further ado, I present:
Gian's 12 Recipes of Christmas [part uno]

Of all my Christmas treats, I've been making these the longest. TF and I both tell this story a little differently, but during the early years of our dating relationship I made these for him as a Christmas treat (or in his words, to win him over) and he's been obsessed ever since. Oddly enough, of all the things I make on a yearly basis, I care for these the least, usually only having one of two. The people love them though, and lets be honest, that's really all I care about.
Ingredients
- 1 bag mini pretzel twists
- 2-3 packages of white chocolate (I always buy the kind labeled almond bark as I find it melts and coats the best)
Directions
1. Melt one package of white chocolate in a microwave safe bowl for 1 minute
2. Stir, then melt again at 15-30 second intervals until melted and smooth. Be careful not to overcook, white chocolate scorches really easily

3. Remove bowl from microwave. Dump a handful of pretzels into chocolate and remove one at a time with a fork or tongs, gently shaking off the excess chocolate into the bowl

4. Place on wax paper to dry, rubbing edges smooth on wax paper once dry and before packaging

2. Black and White Peppermint Bark

Although I haven't been making it as long as the chocolate covered pretzels, this peppermint bark has quickly become a fan favorite as well. Mother loves this stuff like TF loves his chocolate covered pretzels. This year, I was a little backed up in my baking and thus wasn't able to make any for my parents until after Christmas. Mother was borderline huffy when she thought I'd forsaken her. As a post-Christmas miracle, I proved her wrong and produced a fresh batch of peppermint bark, leaving her overjoyed as I jetted off to the Sooner state.
Ingredients
- 1 bag Ghirardelli white chocolate chips
- 1 bag Ghirardelli semi-sweet chocolate chips
- 5-6 regular size candy cane, crushed
Directions
1. Cover a cookie sheet with wax paper or aluminium foil
2. Crush candy canes into fine pieces (I find the finer pieces tend to stay on better than the larger chunks)
3. In two separate, microwave safe bowls, melt both the white chocolate and semi-sweet chocolate chips according to package directions
4. Spread the melted white chocolate onto the covered cookie sheet. I try to keep it relatively thin since another layer will be going on top of it and you want people to be able to bite into it without breaking a tooth

5. Spread chocolate over vanilla layer. I like to try and make a swirl pattern, but it always seems as though the chocolate overtakes things after a while and you can never see the swirl once it's dry

6. Sprinkle candy cane pieces over the melted chocolate until covered as desired. Chill in fridge for 30 minutes to an hour to allow chocolate time to harden so it's not sticky when you go to break it

7. Once chilled, break into desired size pieces [this is my favorite part!]
3. Christmas Colored Non Pareils
The third goodie in my Christmas bag of tricks is the easiest of them all: non pareils. I've loved these since I was a kid (I'm pretty sure it had something to do with my love of sprinkles and all things colorful). When I finally decided to make these on my own (instead of waiting for my grandmother to include them as part of my yearly Christmas presents) I couldn't believe how easy they were! You may recall, I made a Valentine's version for the same grandmother earlier in the year. This time around I used Ghirardelli dark chocolate chips instead of carob ones since I was catering to a very chocolate loving audience.

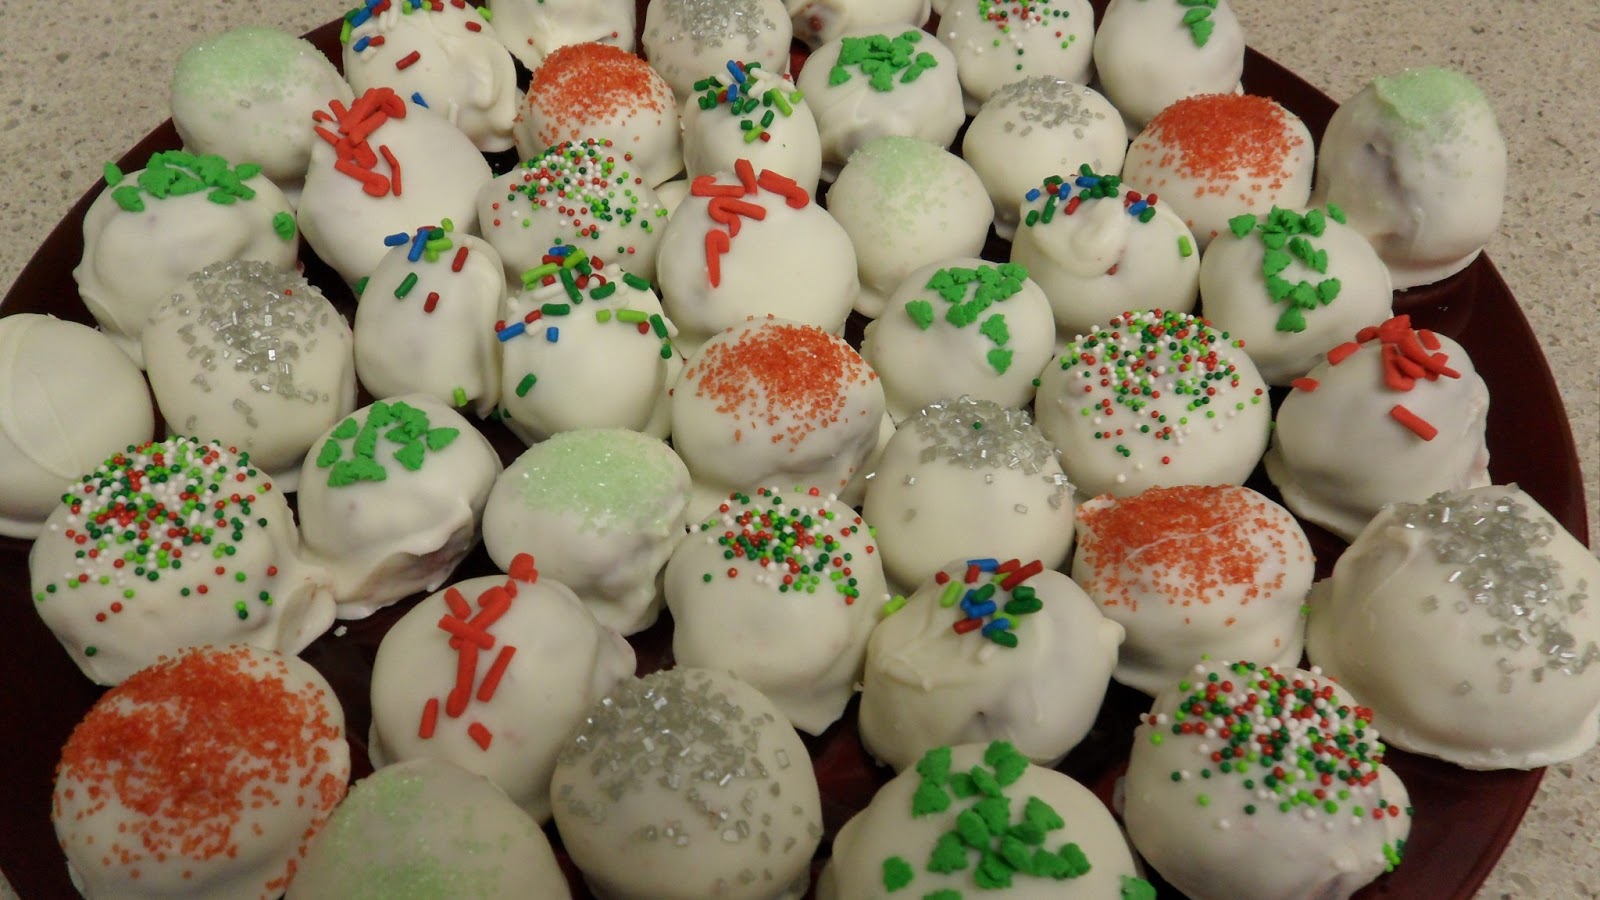
4. Red Velvet Cake Balls
A newbie to my menagerie, I have found myself trying my hand at cake balls the past two Christmases. They're fairly addictive, I must warn, but incredibly festive and another favorite of TF's. I had multiple Christmases this year and while it had been TF's dream for me to make them for some cookie baking fun we had with his family, he dropped the ball and didn't make the cake ahead of time, so I couldn't churn them out in time for the festivities. I did, however, make them pre-Christmas for Katie's birthday/holiday extravaganza. She's my only friend that shares my birth year (everyone else is younger), so I was thrilled to finally have someone join me in the land of 27 and wanted to celebrate it with one of the best treats to ever come out of my kitchen.
Ingredients
- 1 box red velvet cake mix
- 1 can cream cheese frosting
- 3/4 of 1 bar of white chocolate (almond bark...the same kind used for the pretzels)
- sprinkles
Directions
1. Prepare cake according to package instructions. [I'm fairly certain this can be done using cake and icing from scratch, but I've yet to find a recipe that does it and am always too pressed for time to experiment....one day I'll get brave]
2. Once cake is cooled, about an hour or so to be safe, chop cake up into a large bowl
3. Mix frosting in with cake until moist. I used the whole can this time and it really made it a little too moist, so I'd probably advise using only 3/4 or so of the can (and maybe judge a little better than I did :))
4. Begin rolling cake balls (size is up to you, I would just caution about making them too big because they tend to get very rich/sugary once dipped in the melted chocolate) and place in a Tupperware container for chillling.
*Warning: your hands will get super messy and red during the process
5. Chill cake balls in fridge for several hours (I prefer overnight as they tend to hold together better during the dipping process)
6. Melt chocolate in microwave safe bowl according to package directions
7. Dip cake balls one at a time, placing on wax paper to dry. If topping with sprinkles, do so somewhat immediately (I can usually get about 4 dipped before stopping) or the sprinkles won't stick
8. Allow to chill before serving and store in the fridge when not being devoured
5. Mini M&M Cookies
For all the fun that I had baking last year, there were several things I wanted to make but never got the chance to. Among them, were mini cookies. I rarely make mini cookies for the mere fact that I feel less gluttonous eating one large cookie than several small ones and I generally lack the patience to make several batches of cookies at a time (I basically want to fit everything onto one tray and be done). This year, however, I decided that not only was I going to try my hand at the mini cookie, but I was also going to include it in my annual treat bag assortment. It was a tedious process to say the least, but they turned out so delectable that it was well worth it.
I used this recipe find and used a teaspoon to spoon out the cookies to create the tiny shape. The recipe makes roughly 5 dozen minis.

Pre-baking....I remain impressed at my patience in making these

Beautiful
And with all of the above (sans cake balls) I created several batches of these fun treat bags for friends and coworkers:

And so concludes part 1 of my Christmas baking adventures. Part two coming your way soon...this is definitely making me miss Christmas already.
No comments:
Post a Comment